Five Vegetables, Five Fixable Mistakes: A Technique Reset for the Home Kitchen
There's a reason certain vegetables get a bad reputation. Brussels sprouts are bitter and sulfurous. Eggplant is spongy and greasy. Green beans squeak against your teeth. Asparagus turns into wet rope. Bell peppers steam instead of caramelize. These aren't character flaws in the vegetables themselves — they're technique failures in the kitchen. Specifically, one dominant technique failure per vegetable, repeated by home cooks across the country often enough that it's become the default expectation.
Here's the reset. Five vegetables, five fixable mistakes, and the science behind why the correction actually works.
Brussels Sprouts: You're Keeping Them Whole
The mistake: Roasting Brussels sprouts whole, or halving them and then crowding the pan.
Whole Brussels sprouts have a structural problem: the dense core takes much longer to cook than the outer leaves. By the time the center is tender, the exterior has either overcooked or — in a crowded pan — steamed into a soft, sulfurous mush. The steam issue is actually the bigger villain here. When vegetables are packed tightly on a sheet pan, moisture can't escape, and the oven effectively becomes a steam chamber. Steamed Brussels sprouts are why people hate Brussels sprouts.
The fix: Halve them (cut side down on the pan), and give them real estate. A hot oven — 425°F minimum, ideally 450°F — and a single uncrowded layer on a sheet pan with a thin coat of oil is the entire correction. The flat cut side creates direct contact with the hot pan surface, producing the caramelized, slightly charred crust that makes Brussels sprouts worth eating. If you have more sprouts than pan space, use two pans or roast in batches.
The science: Maillard reaction, which produces those complex browned flavors, requires surface temperatures above 280°F and minimal moisture. Steam keeps the surface wet and the temperature capped at 212°F. Dry, high heat on a cut surface creates everything you want.
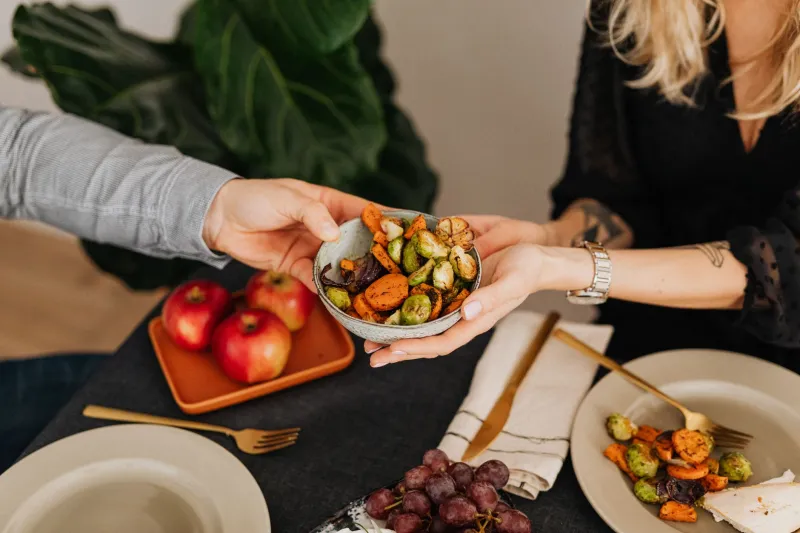
Before/after: Before: pale, soft, vaguely sulfurous little spheres that taste like obligation. After: deeply browned, slightly crispy-edged, nutty, and almost sweet. The same vegetable. Completely different experience.
Eggplant: You're Skipping the Salting Step (Or Not Pressing Out the Moisture)
The mistake: Cutting eggplant and immediately throwing it into a hot pan.
Eggplant has a sponge-like cellular structure with a high water content and a large amount of air pockets. When you add unsalted, unprepared eggplant to hot oil, it absorbs the oil almost instantly — far more than you intended — and then releases its water as it cooks, creating a greasy, soggy result. The outside looks cooked while the inside steams itself into mush.
The fix: Salt sliced or cubed eggplant generously, toss it, and let it sit in a colander or on a rack for 20 to 30 minutes. Then press or pat it firmly with paper towels to remove the drawn-out moisture before cooking. The salting process collapses some of those air pockets and draws surface moisture out through osmosis, which means the eggplant absorbs significantly less oil and cooks more evenly. For dishes like baba ganoush or roasted eggplant, you can skip the salting and go straight to high-heat roasting whole — the intense heat handles the moisture differently.
The science: Osmosis draws water out of the eggplant cells toward the saltier exterior environment. The resulting denser, drier flesh behaves more like a firm vegetable than a sponge. Less water means better browning; less oil absorption means better texture.
Before/after: Before: greasy, uneven cubes with soft interiors that taste vaguely bitter and collapse into each other. After: golden-edged, creamy inside, with enough structural integrity to hold up in a stir-fry, pasta, or curry without disappearing.
Green Beans: You're Not Cooking Them Long Enough
The mistake: Blanching or sautéing green beans until they're just barely cooked — technically "done" but still squeaky, raw-tasting, and starchy.
American food culture has been so thoroughly trained by the fear of mushy vegetables that we've overcorrected hard in the other direction. The result is a generation of home cooks who pull green beans off the heat the moment they turn bright green, convinced that's the peak. It isn't. That stage — vibrant color, resistant bite, starchy interior — is actually a transitional phase, not a destination.
The fix: Cook green beans longer than you think. In boiling salted water, fresh green beans need four to six minutes for genuine tenderness, not the two minutes most recipes suggest. In a hot skillet with oil and a splash of water (covered briefly to steam), they need similar time. The goal is a bean that yields cleanly to a bite without squeaking, with a fully cooked interior that's creamy rather than starchy. If you're going Italian-style — braised low and slow with tomatoes and olive oil for 20 to 30 minutes — you're aiming for something silky and completely surrendered, and that's its own category of extraordinary.
The science: Green beans contain starch granules and cell wall compounds (pectin, primarily) that require sustained heat to break down fully. The bright-green color that appears quickly during cooking comes from chlorophyll changes, not doneness. Color is not a reliable indicator of texture here.
Before/after: Before: squeaky, grassy, starchy beans that feel like they're fighting back. After: tender, deeply savory, yielding beans that actually taste like something worth eating.
Asparagus: You're Not Adjusting for Thickness
The mistake: Cooking all asparagus the same way regardless of spear thickness.
This sounds minor until you realize that a pencil-thin asparagus spear and a fat, finger-thick one are essentially two different vegetables from a cooking standpoint. Thin spears cook in two to three minutes under high heat. Thick spears need five to seven minutes, sometimes more. Treating them identically means thin spears turn to mush while thick ones stay woody, or thick spears are perfectly cooked while thin ones have dissolved.
The fix: Sort your asparagus by thickness before cooking, and adjust your method accordingly. Thin spears are ideal for quick, high-heat applications — a screaming-hot grill or skillet for two to three minutes, or a 90-second blanch and shock. Thick spears benefit from roasting at 425°F for eight to ten minutes, or from a longer blanch. If you have a mix, either cook them in separate batches or make the executive decision to peel the lower third of the thick spears to speed up their cooking time.
Also: snap, don't cut, the woody ends. Hold a spear at both ends and bend gently — it will snap naturally at the point where woody meets tender. This is more reliable than measuring an inch from the bottom.
The science: Heat penetration in a vegetable is proportional to surface-area-to-volume ratio. Thin spears have a high ratio and cook fast. Thick spears have a low ratio and cook slowly. Same vegetable, different physics.
Before/after: Before: a chaotic mix of mushy thin spears and underdone thick ones, all slightly watery. After: every spear cooked to the same ideal — tender but with a little backbone, slightly charred at the tips, tasting like spring.
Bell Peppers: You're Not Getting the Pan Hot Enough
The mistake: Sautéing bell peppers in a pan that isn't properly preheated, then stirring them constantly.
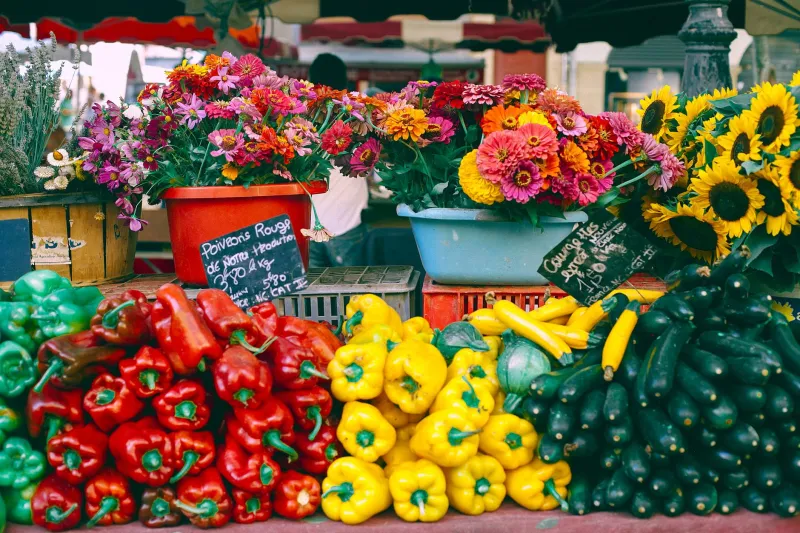
Bell peppers have a high water content. When you add them to a pan that isn't hot enough, they release that moisture before the surface has a chance to brown. The result is steamed pepper strips — pale, soft, and sweet in a flat, one-dimensional way — rather than the charred, caramelized, complex version that makes fajitas or a roasted pepper sandwich actually worth making.
The fix: Get your pan genuinely hot before the peppers go in. Cast iron or stainless steel over high heat for two to three minutes, with a thin coat of oil just before adding the peppers. Add the peppers and then don't touch them for at least 90 seconds to two minutes. Let them sit in contact with the hot surface and develop color before you toss or stir. Once they've charred slightly on one side, you can move them. And resist adding salt until the end — salt draws out moisture and will immediately create the steaming effect you're trying to avoid.
The science: Water evaporates from the pepper's surface quickly in a screaming-hot pan, keeping the surface dry enough for Maillard browning to occur. In a lukewarm pan, the water pools and the temperature can't climb high enough for browning. Movement prevents the sustained surface contact needed for the reaction to happen.
Before/after: Before: pale, watery, limp strips with a muted sweetness that fades into the background of any dish. After: blistered, deeply sweet, slightly smoky peppers with charred edges and concentrated flavor that make themselves known.
The Common Thread
Look across these five fixes and a pattern emerges: most vegetable cooking mistakes in American kitchens come down to either insufficient heat, too much moisture, or not enough time. We're cautious when we should be bold, gentle when we should be aggressive, and impatient when we should wait it out.
Vegetables are more resilient and more forgiving than we give them credit for — but they reward confidence. Push the heat. Give them space. Wait for the color. The transformation is always worth it.